Key Takeaways
Kubernetes is an open-source platform for automating deployment, scaling, and operations of application containers.
GitOps leverages Git repositories as the single source of truth for application and infrastructure code.
Combining GitOps with Kubernetes simplifies workflows, increases productivity, enhances security, and improves collaboration.
To get started, set up a Kubernetes cluster, choose a GitOps tool, create a Git repository, and configure a CI/CD pipeline.
Deploying your first app involves preparing the app, writing Kubernetes manifests, initializing the Git repository, and running the deployment.
First App Deployment on Kubernetes: GitOps Guide & Tips
Introduction to GitOps and Kubernetes
Deploying applications can be complex, especially when managing multiple environments and configurations. Kubernetes and GitOps offer a streamlined approach to this challenge, combining the power of container orchestration with the simplicity of version control. In this guide, I will walk you through deploying your first app on Kubernetes using GitOps, ensuring a smooth and efficient process.
What is Kubernetes?
Kubernetes, often abbreviated as K8s, is an open-source platform designed to automate the deployment, scaling, and operation of application containers. It orchestrates computing, networking, and storage infrastructure on behalf of user workloads, making it easier to manage complex applications.
Originally developed by Google, Kubernetes has become the de facto standard for container orchestration. It provides a robust and scalable solution for managing containerized applications, allowing developers to focus on writing code rather than managing infrastructure.
GitOps Defined
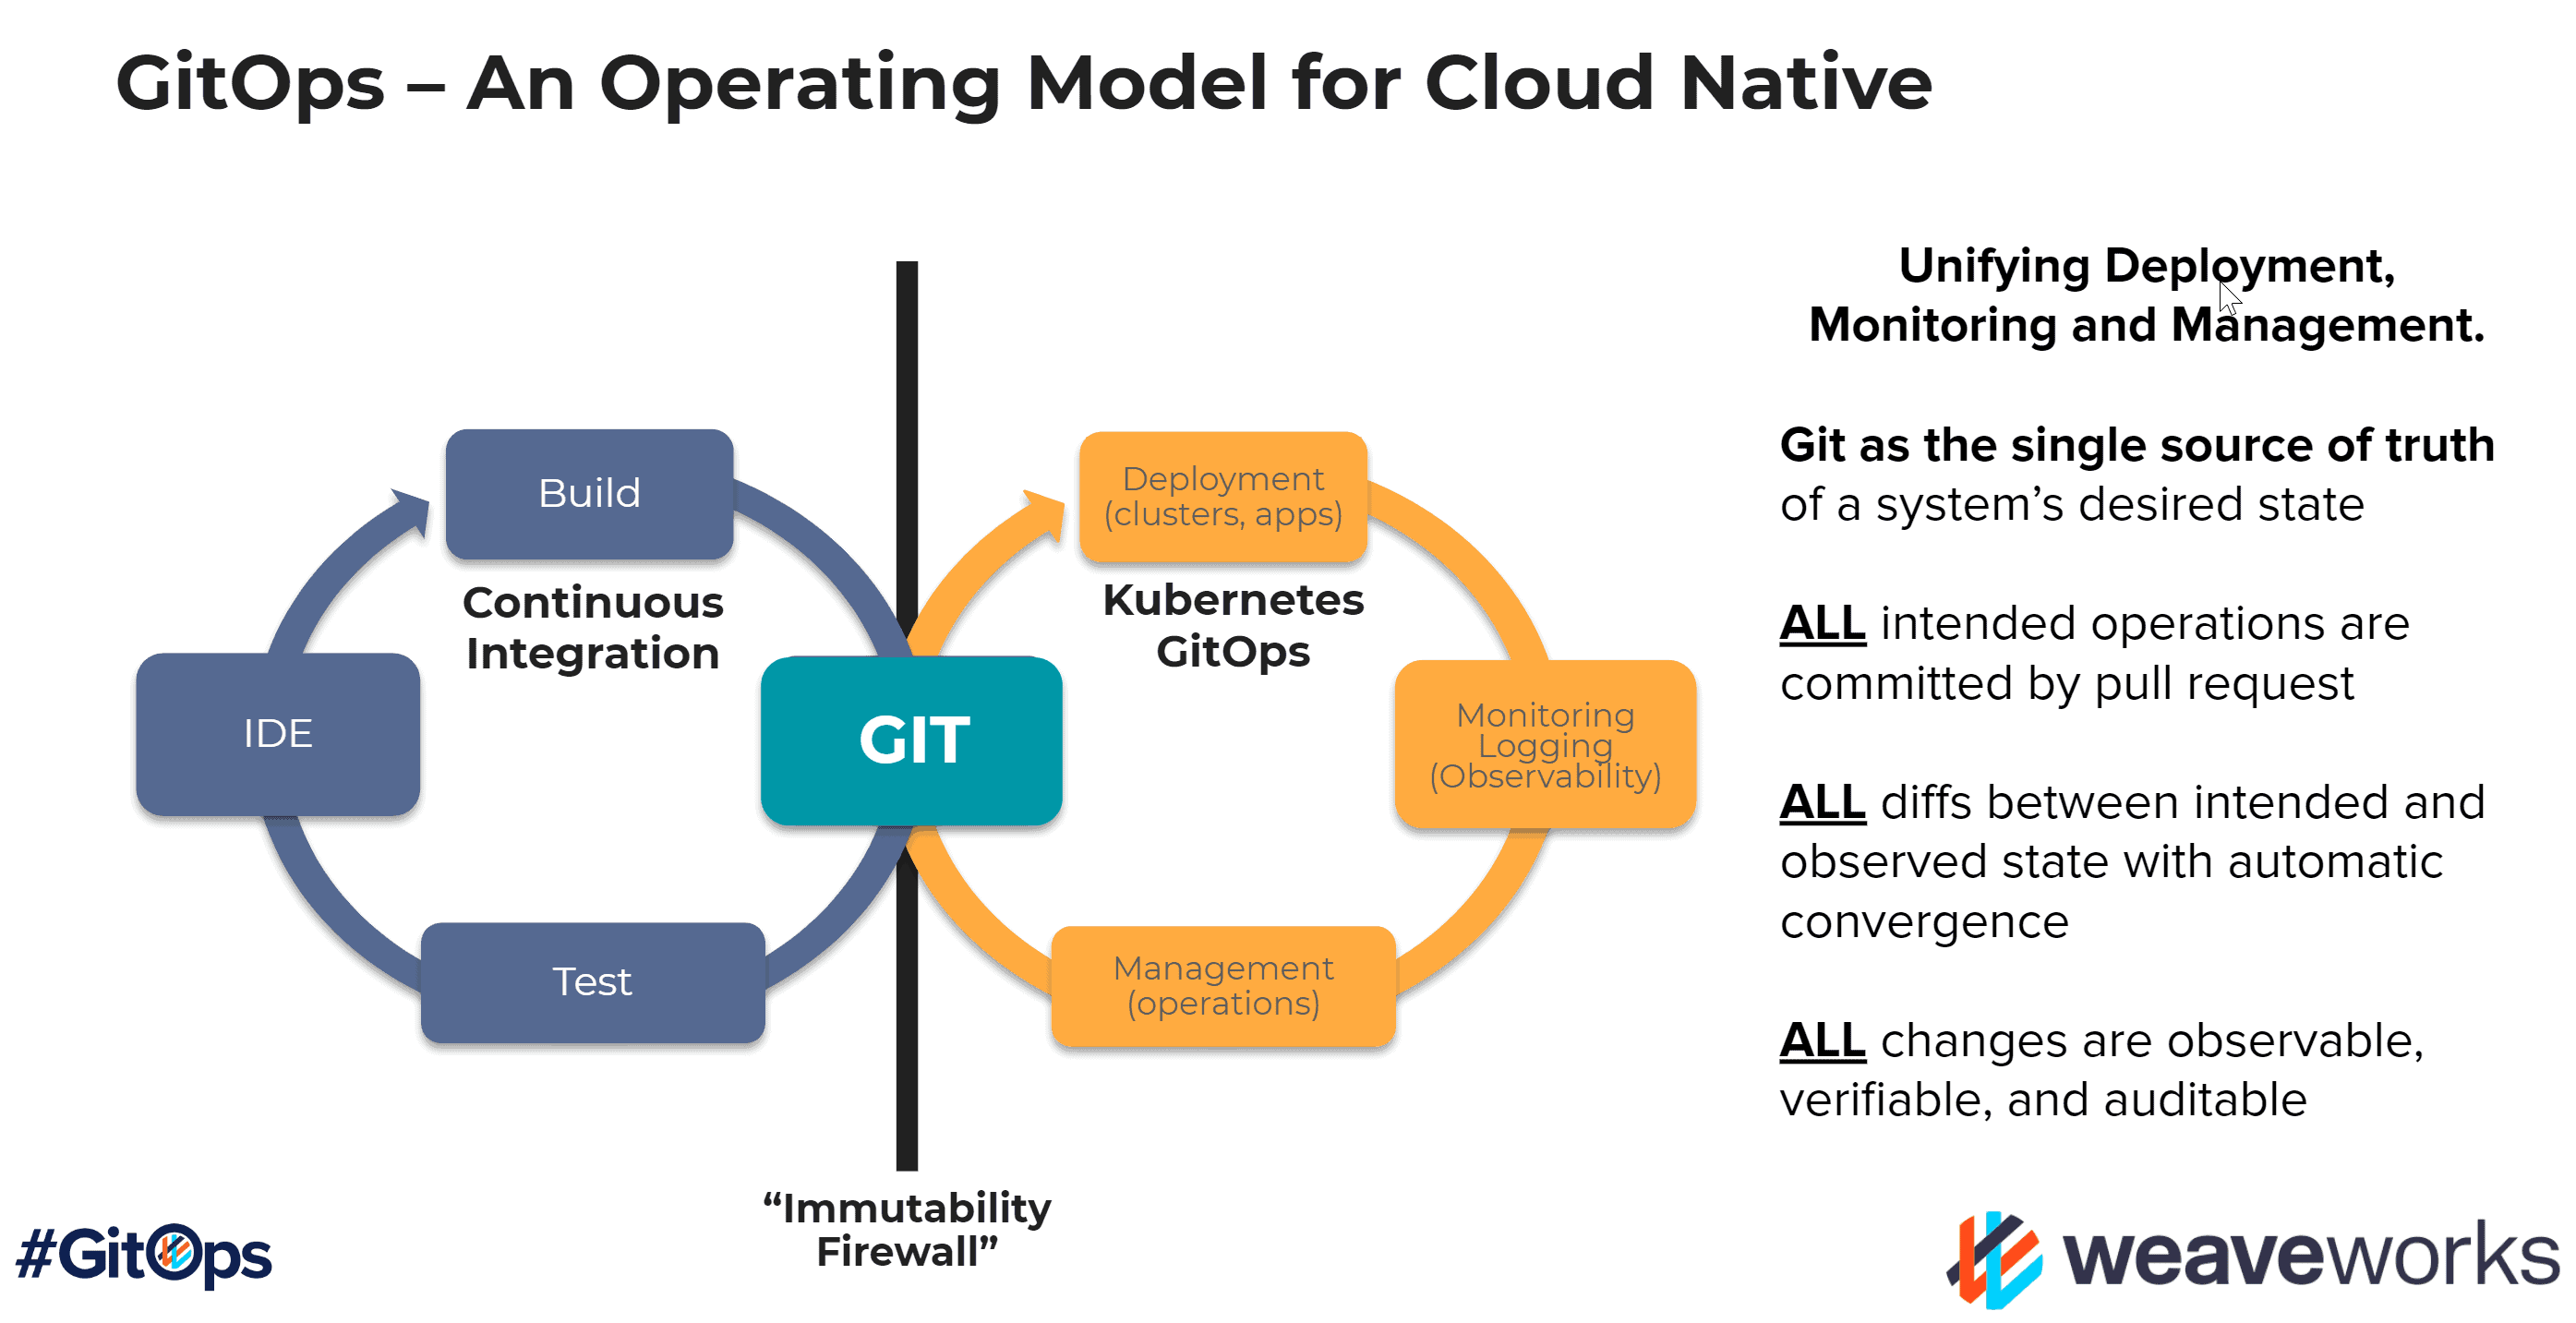
GitOps is a set of practices that use Git repositories as the single source of truth for application and infrastructure code. It leverages Git’s version control capabilities to manage and automate the deployment of applications and infrastructure changes, simplifying application deployment on Kubernetes.
By storing all configurations and code in Git, GitOps enables teams to track changes, collaborate more effectively, and ensure consistency across environments. This approach simplifies the deployment process and reduces the risk of configuration drift.
Why Combine GitOps with Kubernetes?
Combining GitOps with Kubernetes offers several advantages:
Simplified Workflow: GitOps provides a clear and straightforward workflow for managing Kubernetes deployments, making it easier to track changes and automate processes.
Increased Productivity: By automating repetitive tasks and reducing manual intervention, GitOps allows developers to focus on writing code and delivering features.
Enhanced Security and Compliance: Storing all configurations in Git ensures a single source of truth, making it easier to audit changes and maintain compliance with security policies.
Better Collaboration: GitOps fosters collaboration by enabling teams to work together on the same codebase, review changes, and provide feedback through pull requests.
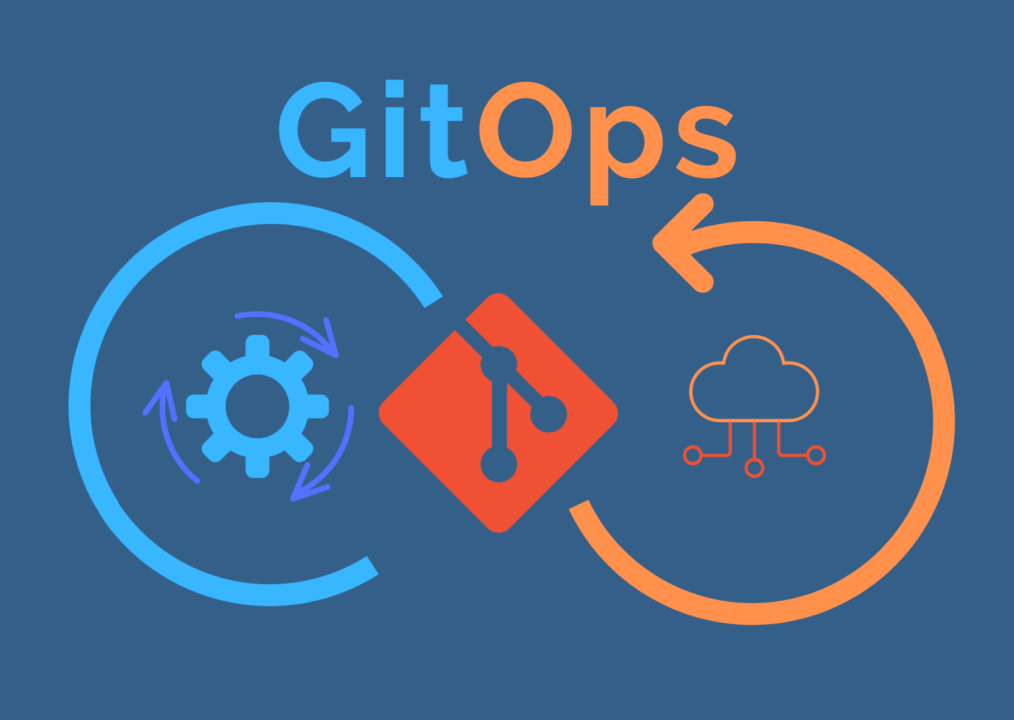
“GitOps 101: What’s it all about? | CNCF” from www.cncf.io and used with no modifications.
Benefits of Using GitOps for Kubernetes Deployments
Simplified Workflow
One of the primary benefits of using GitOps for Kubernetes deployments is the simplified workflow. By leveraging Git as the single source of truth, teams can manage all configurations and code in a centralized repository. This approach eliminates the need for manual interventions and reduces the complexity of managing multiple environments.
For example, when a developer makes a change to the application code or configuration, they simply push the changes to the Git repository. The GitOps tool then automatically detects the changes and triggers the deployment process, ensuring that the new configuration is applied consistently across all environments.
Increased Productivity
GitOps significantly increases productivity by automating repetitive tasks and reducing manual intervention. Developers can focus on writing code and delivering features, rather than spending time on deployment and infrastructure management.
Moreover, GitOps enables continuous integration and continuous deployment (CI/CD) pipelines, allowing teams to deploy changes rapidly and reliably. This approach ensures that new features and bug fixes are delivered to users faster, improving the overall development lifecycle. For example, you can automate solutions for pod eviction issues to streamline your CI/CD process.
Enhanced Security and Compliance
Security and compliance are critical considerations in any deployment process. GitOps enhances security by ensuring that all configurations and code are stored in a Git repository, providing a single source of truth.
This approach makes it easier to audit changes, track the history of modifications, and maintain compliance with security policies. Additionally, GitOps tools often include features for managing secrets and sensitive information, further enhancing the security of the deployment process.
Better Collaboration
Collaboration is key to successful software development. GitOps fosters better collaboration by enabling teams to work together on the same codebase, review changes, and provide feedback through pull requests.
This approach ensures that all team members are on the same page and can contribute to the deployment process. By leveraging Git’s version control capabilities, teams can track changes, resolve conflicts, and maintain a consistent and reliable deployment process.
Getting Started with GitOps for Kubernetes
Setting Up Your Kubernetes Cluster
The first step in getting started with GitOps for Kubernetes is setting up your Kubernetes cluster. You can use a managed Kubernetes service, such as Google Kubernetes Engine (GKE), Amazon Elastic Kubernetes Service (EKS), or Azure Kubernetes Service (AKS), or set up a self-managed cluster using tools like kubeadm or k3s.
Regardless of the method you choose, ensure that your cluster is properly configured and ready for deployments. This includes setting up networking, storage, and security configurations to meet your application’s requirements.
Choosing a GitOps Tool
Several GitOps tools are available to help you manage Kubernetes deployments, including Argo CD, Flux, and Jenkins X. Each tool has its strengths and features, so choose one that best fits your needs and workflow.
For example, Argo CD provides a declarative, GitOps-centric approach to continuous delivery, making it easy to manage Kubernetes resources. Flux, on the other hand, focuses on automating the deployment of container images and configurations from Git repositories.
Once you’ve selected a GitOps tool, follow the documentation to install and configure it in your Kubernetes cluster.
Creating a Git Repository for Your App
Next, create a Git repository for your application code and configurations. This repository will serve as the single source of truth for your deployments, so organize it in a way that makes it easy to manage and track changes.
At a minimum, your repository should include the following:
Application Code: The source code for your application.
Kubernetes Manifests: YAML files that define the desired state of your application and its resources in the Kubernetes cluster.
Configuration Files: Any additional configuration files required for your application.
Configuring CI/CD Pipeline
With your Git repository set up, the next step is to configure a CI/CD pipeline. This pipeline will automate the process of building, testing, and deploying your application to the Kubernetes cluster.
Most importantly, ensure that your CI/CD pipeline integrates with your GitOps tool to trigger deployments automatically whenever changes are pushed to the repository. This approach ensures that your deployments are consistent and reliable.
Getting Started with GitOps for Kubernetes
Embarking on the journey of deploying your first app using GitOps on Kubernetes can be an exciting and rewarding experience. This section will guide you through the essential steps to set up your Kubernetes cluster, choose the right GitOps tool, create a Git repository for your application, and configure a CI/CD pipeline. By the end of this section, you’ll be well-equipped to manage your Kubernetes deployments with ease and confidence.
Let’s dive into the details and get you started on the right path.
Setting Up Your Kubernetes Cluster
Setting up your Kubernetes cluster is the first and most crucial step in this journey. You have several options, including managed Kubernetes services like Google Kubernetes Engine (GKE), Amazon Elastic Kubernetes Service (EKS), and Azure Kubernetes Service (AKS), or you can opt for a self-managed cluster using tools like kubeadm or k3s.
For a managed service, follow the provider’s documentation to create a cluster. For instance, GKE offers a straightforward process through the Google Cloud Console, while EKS provides a similar experience through the AWS Management Console. If you prefer a self-managed cluster, tools like kubeadm offer step-by-step instructions to get your cluster up and running.
Ensure that your cluster is properly configured with the necessary networking, storage, and security settings to support your application. This includes setting up appropriate namespaces, service accounts, and role-based access controls (RBAC) to manage permissions and security policies.
Choosing a GitOps Tool
Next, you’ll need to choose a GitOps tool that fits your workflow and requirements. Some popular options include Argo CD, Flux, and Jenkins X. Each tool offers unique features and capabilities, so it’s essential to select one that aligns with your needs.
For example, Argo CD is known for its declarative, GitOps-centric approach to continuous delivery, making it easy to manage Kubernetes resources. Flux, on the other hand, focuses on automating the deployment of container images and configurations from Git repositories. Jenkins X integrates with Jenkins and provides a comprehensive CI/CD solution for Kubernetes.
Once you’ve chosen a tool, follow the documentation to install and configure it in your Kubernetes cluster. This typically involves deploying the tool’s operator or controller and connecting it to your Git repository.
Creating a Git Repository for Your App
With your Kubernetes cluster and GitOps tool in place, it’s time to create a Git repository for your application. This repository will serve as the single source of truth for your deployments, so it’s essential to organize it effectively.
Start by creating a new repository on a platform like GitHub, GitLab, or Bitbucket. Your repository should include the following:
Application Code: The source code for your application, organized into appropriate directories.
Kubernetes Manifests: YAML files that define the desired state of your application and its resources in the Kubernetes cluster. These files should be stored in a separate directory, such as
k8sormanifests.Configuration Files: Any additional configuration files required for your application, such as environment variables, secrets, and config maps.
Organizing your repository in this manner ensures that all team members can easily navigate and manage the codebase, making collaboration more efficient.
Configuring CI/CD Pipeline
Configuring a CI/CD pipeline is the next step in automating your deployment process. This pipeline will build, test, and deploy your application to the Kubernetes cluster whenever changes are pushed to the Git repository.
Build Stage: Compile and build your application code into a container image. Use tools like Docker or Buildah to create the image and push it to a container registry, such as Docker Hub or Google Container Registry.
Test Stage: Run automated tests to ensure that your application functions correctly. This may include unit tests, integration tests, and end-to-end tests.
Deploy Stage: Deploy the container image to the Kubernetes cluster using the GitOps tool. The tool will detect changes in the Git repository and apply the new configuration to the cluster.
By integrating your CI/CD pipeline with your GitOps tool, you ensure that deployments are automated, consistent, and reliable. This approach reduces the risk of human error and accelerates the delivery of new features and updates.
Deploying Your First App Using GitOps
Now that you have your Kubernetes cluster, GitOps tool, Git repository, and CI/CD pipeline set up, it’s time to deploy your first app. This section will guide you through the steps to prepare your app for deployment, write Kubernetes manifests, initialize your Git repository, and run your first deployment.
Follow these steps to ensure a smooth and successful deployment:
Prepare Your App for Deployment
Write Kubernetes Manifests
Initialize Your Git Repository
Run Your First Deployment
Let’s explore each step in detail.
Preparing Your App for Deployment
Before deploying your app, you need to ensure that it’s properly prepared for deployment in a Kubernetes environment. This involves containerizing your application, creating necessary configuration files, and testing the application locally.
Start by creating a Dockerfile for your application. This file defines the steps to build your application into a container image. Here’s an example Dockerfile for a simple Node.js application:
          FROM node:14
      WORKDIR /app
      COPY package*.json ./
      RUN npm install
      COPY . .
      EXPOSE 3000
      CMD ["node", "index.js"]
Build the Docker image using the following command:
docker build -t my-app:latest .
Once the image is built, push it to a container registry:
      docker tag my-app:latest your-registry/my-app:latest
      docker push your-registry/my-app:latest
Test the application locally by running the container:
docker run -p 3000:3000 my-app:latest
Ensure that the application runs correctly and is accessible before proceeding to the next step.
Writing Kubernetes Manifests
With your application containerized and tested, the next step is to write Kubernetes manifests. These YAML files define the desired state of your application and its resources in the Kubernetes cluster.
At a minimum, you’ll need to create the following manifests:
Deployment: Defines the desired state of your application, including the number of replicas, container image, and resource requirements.
Service: Exposes your application to other services or external traffic.
ConfigMap: Stores configuration data for your application.
Secret: Stores sensitive data, such as passwords and API keys.
Here’s an example Deployment manifest for the Node.js application:
      apiVersion: apps/v1
      kind: Deployment
      metadata:
        name: my-app
      spec:
        replicas: 3
        selector:
          matchLabels:
            app: my-app
        template:
          metadata:
            labels:
              app: my-app
          spec:
            containers:
            - name: my-app
              image: your-registry/my-app:latest
              ports:
              - containerPort: 3000
Create similar manifests for the Service, ConfigMap, and Secret resources. Store these files in the k8s or manifests directory in your Git repository.
Initializing Your Git Repository
With your manifests written, it’s time to initialize your Git repository and push the changes. If you haven’t already, create a new repository on GitHub, GitLab, or Bitbucket. Clone the repository to your local machine:
      git clone your-repo-url
      cd your-repo-name
Add your application code, Dockerfile, and Kubernetes manifests to the repository:
      git add .
      git commit -m "Initial commit"
      git push origin main
Your repository is now initialized and ready for deployment.
Running Your First Deployment
With everything in place, it’s time to run your first deployment using GitOps. Your GitOps tool will automatically detect the changes in the Git repository and apply the new configuration to the Kubernetes cluster.
Monitor the deployment process through your GitOps tool’s dashboard or CLI. Ensure that the application is deployed successfully and is accessible as expected.
Congratulations! You’ve successfully deployed your first app using GitOps on Kubernetes. This process may seem complex at first, but with practice, it will become second nature.
Monitor and Validate Deployments
Monitoring and validating deployments are crucial steps to ensure the reliability and stability of your applications. By keeping a close eye on your deployments, you can quickly identify and resolve issues before they impact users.
Use tools like Prometheus, Grafana, and Kubernetes’ built-in monitoring capabilities to track the health and performance of your applications. Set up alerts to notify you of any anomalies or issues that require immediate attention.
Additionally, validate your deployments by running automated tests and performing manual checks. This ensures that your applications are functioning as expected and meeting the desired performance and reliability standards.
Regularly Review and Audit Your Workflow
Regularly reviewing and auditing your GitOps workflow is essential to maintain its effectiveness and security. Conduct periodic audits to ensure that your configurations and processes align with best practices and organizational policies. For example, you can follow guidelines on Kubernetes monitoring and troubleshooting to help ensure your system remains secure and efficient.
Review your Git repository for any outdated or redundant configurations and clean them up as needed. This helps maintain a clean and organized codebase, making it easier to manage and track changes.
Additionally, involve your team in the review process to gather feedback and identify areas for improvement. This collaborative approach ensures that your workflow remains efficient and adaptable to changing requirements.
Conclusion
Kubernetes and GitOps provide a powerful combination for managing application deployments, offering simplified workflows, increased productivity, enhanced security, and better collaboration.
Getting started with GitOps involves setting up a Kubernetes cluster, choosing a GitOps tool, creating a Git repository, and configuring a CI/CD pipeline.
Deploying your first app using GitOps requires preparing your app, writing Kubernetes manifests, initializing your Git repository, and running the deployment.
Monitoring and validating deployments, as well as regularly reviewing and auditing your workflow, are essential practices to ensure the reliability and security of your applications.
By following these steps and best practices, you can successfully manage your Kubernetes deployments using GitOps and achieve greater efficiency and consistency in your development process.
Next Steps
Now that you’ve successfully deployed your first app using GitOps on Kubernetes, it’s time to build on this foundation. Here are some next steps to consider:
For further insights, you can explore this guide on Kubernetes-native tools to enhance your workflow orchestration.
Expand Your CI/CD Pipeline: Add more stages to your pipeline, such as automated testing, security scanning, and performance monitoring.
Scale Your Applications: Leverage Kubernetes’ scaling capabilities to handle increased traffic and demand for your applications.
Implement Advanced GitOps Practices: Explore advanced GitOps practices, such as multi-cluster management, canary deployments, and blue-green deployments.
Stay Updated: Keep up with the latest developments in Kubernetes and GitOps by following relevant blogs, forums, and communities.
Frequently Asked Questions (FAQ)
What tools are best for GitOps with Kubernetes?
Several tools are available for GitOps with Kubernetes, each offering unique features and capabilities. Some popular options include:
Argo CD: A declarative, GitOps-centric continuous delivery tool for Kubernetes.
Flux: A tool that automates the deployment of container images and configurations from Git repositories.
Jenkins X: A CI/CD solution for Kubernetes that integrates with Jenkins and supports GitOps workflows.
Choose a tool that best fits your workflow and requirements, and follow the documentation to install and configure it in your Kubernetes cluster.
Can I use GitOps with any type of Kubernetes cluster?
Yes, you can use GitOps with any type of Kubernetes cluster, whether it’s a managed service like GKE, EKS, or AKS, or a self-managed cluster using tools like kubeadm or k3s. The key is to ensure that your cluster is properly configured and ready for deployments.
Regardless of the type of cluster, GitOps provides a consistent and reliable approach to managing deployments, making it easier to track changes, collaborate, and maintain security and compliance.
How do I handle secret management in GitOps?
Handling secrets securely is a critical aspect of any deployment process. In GitOps, you can manage secrets using tools like Kubernetes Secrets, Sealed Secrets, or external secret management solutions like HashiCorp Vault.
Here’s an example of using Kubernetes Secrets:
      apiVersion: v1
      kind: Secret
      metadata:
        name: my-secret
      type: Opaque
      data:
        username: base64-encoded-username
        password: base64-encoded-password
To create a secret, encode the sensitive data using base64 and include it in the manifest. Apply the manifest to your cluster using the GitOps tool, ensuring that the secret is stored and managed securely.
For more advanced secret management, consider using Sealed Secrets or HashiCorp Vault, which provide additional security features and integrations with Kubernetes.

